


web_view flutter package
Learn how to use the latest webview_flutter package


Table of contents

No headings in the article.
Today I would be writing an article about the webview_flutter package, mainly because there’s a new version on pub dev, but little to no documentation to support it, even the Paystack doc that uses this package on its site still refers to the old package.
Now let us get started,
Firstly, add the latest package to your project, as of the time writing this, that was webview_flutter: ^4.2.0, add this line to your pubspec.yaml file, and run pub get

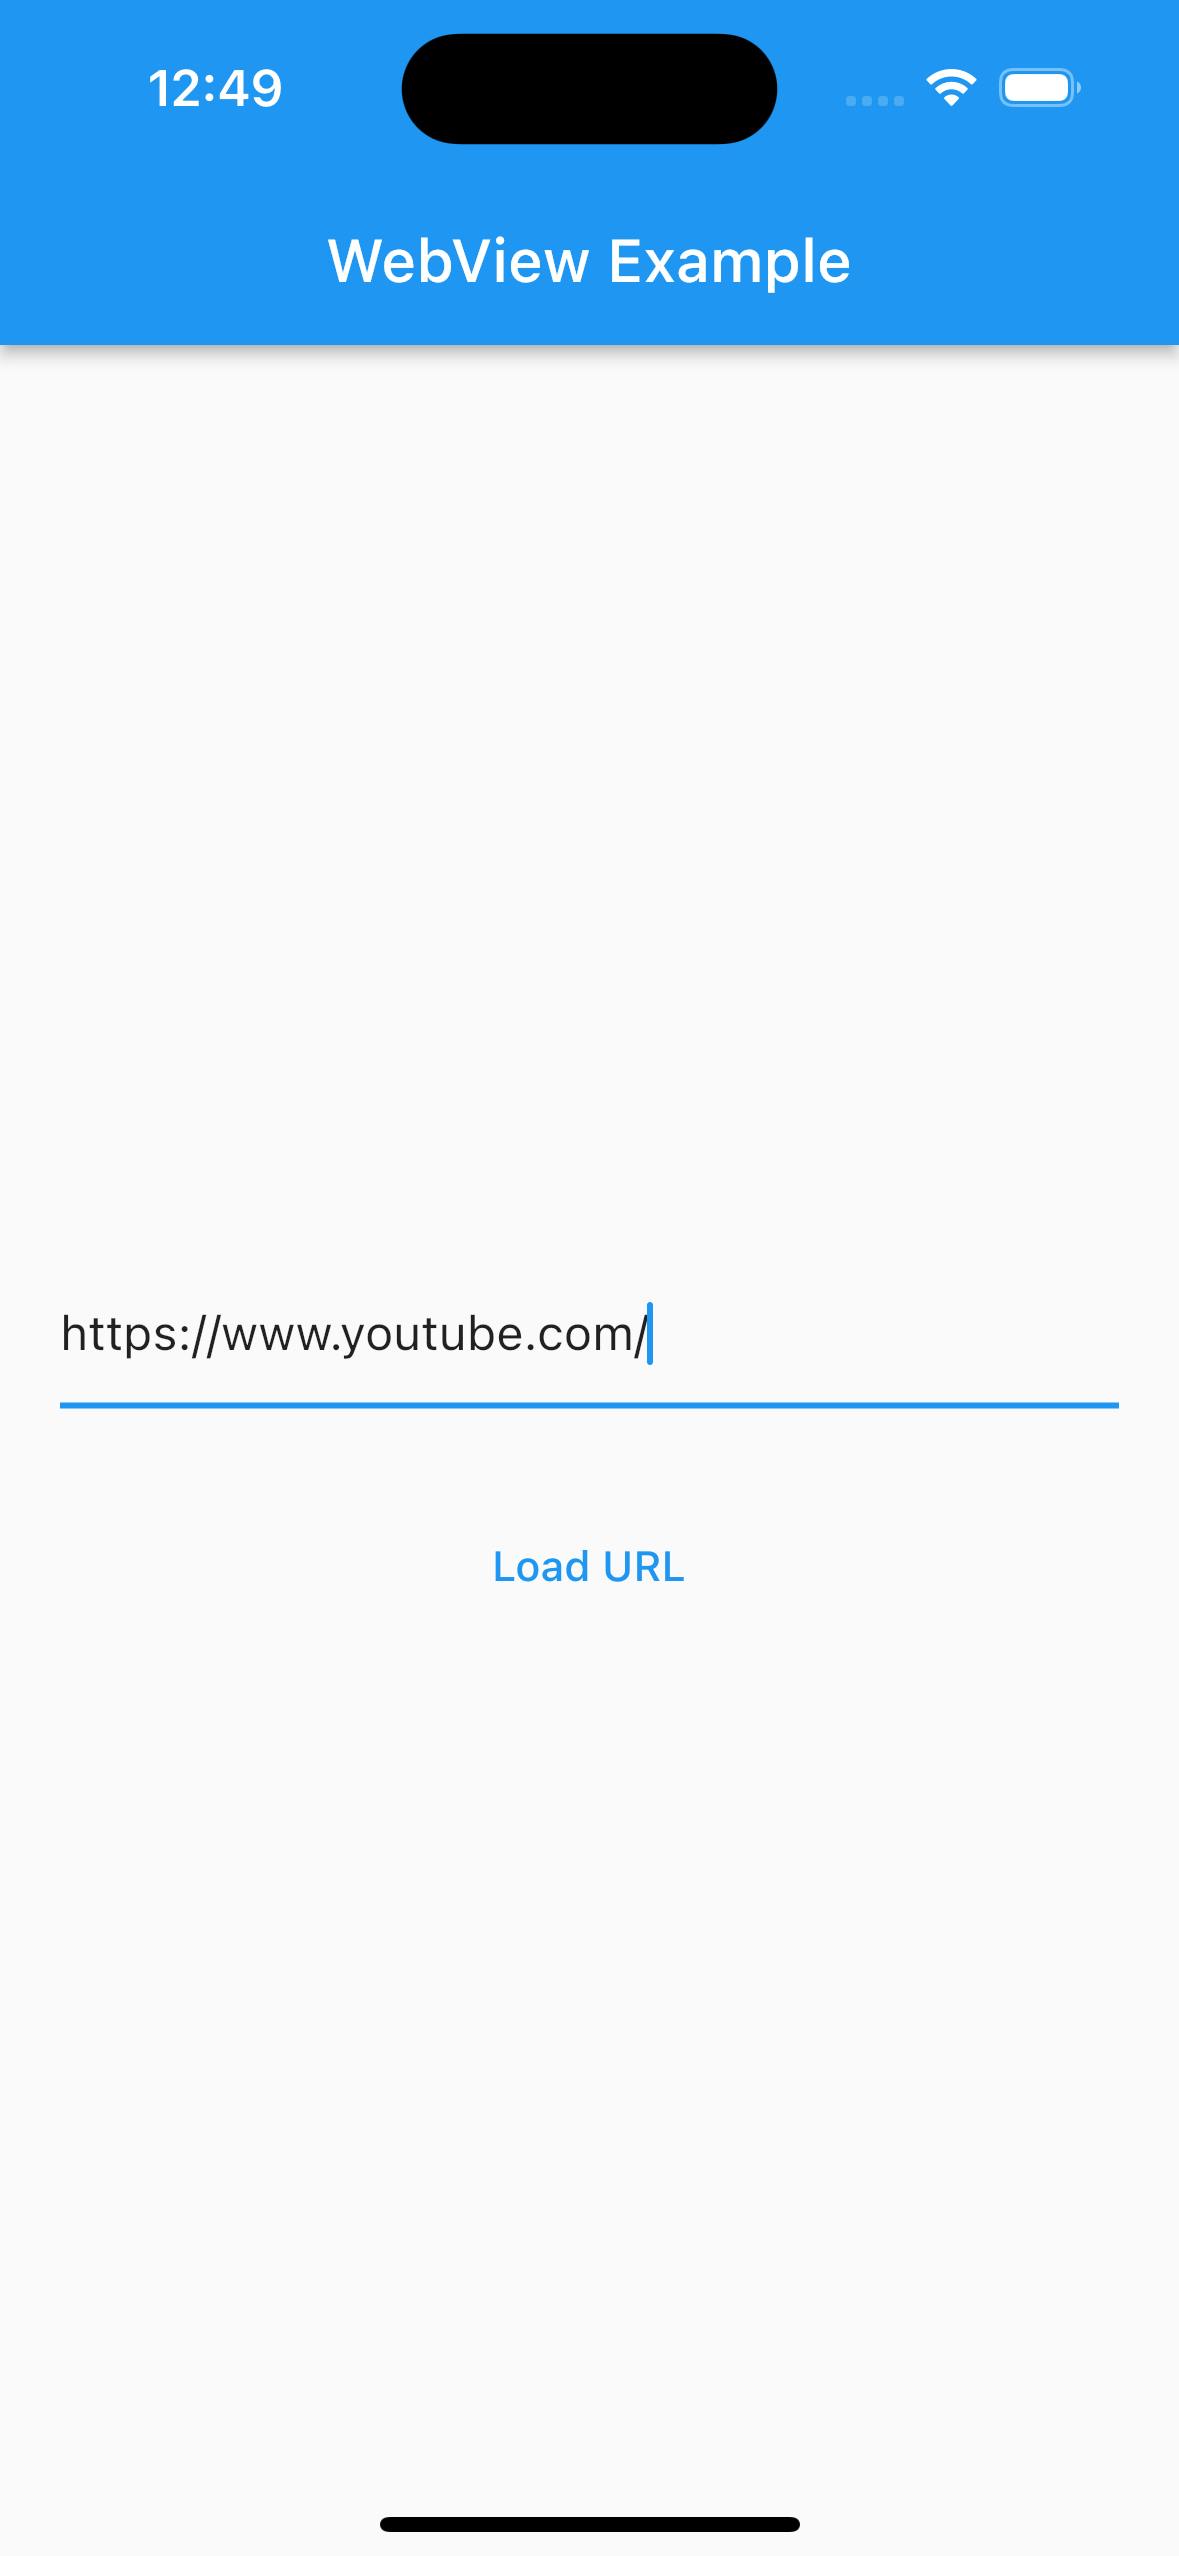
We build a simple home screen with a text field and text button to help u pass a URL to our WebView screen
import 'package:debugging/widgetref/webview_flutter.dart';
import 'package:flutter/material.dart';

class Home extends StatefulWidget {
  const Home({super.key});

  @override
  State<Home> createState() => _HomeState();
}

class _HomeState extends State<Home> {
  final TextEditingController ctrl = TextEditingController();
  @override
  Widget build(BuildContext context) {
    return Scaffold(
      appBar: AppBar(
        title: const Text('WebView Example'),
      ),
      body: Padding(
        padding: const EdgeInsets.all(20.0),
        child: Column(
          mainAxisAlignment: MainAxisAlignment.center,
          children: [
            TextField(controller: ctrl),
            const SizedBox(
              height: 30,
            ),
            TextButton(
                onPressed: () {
                  Navigator.push(
                      context,
                      MaterialPageRoute(
                          builder: (context) => WebView(
                                url: ctrl.text,
                              )));
                },
                child: const Text('Load URL'))
          ],
        ),
      ),
    );
  }
}
Below is the screen with the text field and text button
Now on clicking the load Url text button, we are directed to the webview page that loads up our URL in the webview, notice that the webview page receives a string (the URL) from the text controller.
Below is the result of clicking the load Url, it displays just like a browser

Now to the code of the web view screen, which is why we are here init, but note we use the cascade operator extensively, check my article on cascade operators if you don't fully grasp what it means here
import 'package:flutter/material.dart';
import 'package:webview_flutter/webview_flutter.dart';

class WebView extends StatefulWidget {
  const WebView({super.key, required this.url});
  final String url;
  @override
  State<WebView> createState() => _WebViewState();
}

class _WebViewState extends State<WebView> {
  bool isLoading = true;
  late final WebViewController controller;
  @override
  void initState() {
    super.initState();
    controller = WebViewController()
      ..setJavaScriptMode(JavaScriptMode.unrestricted)
      ..setBackgroundColor(
          const Color(0x00000000)) //set whatever color you want here
      ..setNavigationDelegate(
        NavigationDelegate(
          onProgress: (int progress) {},
          onPageStarted: (String url) {
            setState(() {
              isLoading = true;
            });
          },
          onPageFinished: (String url) {
            setState(() {
              isLoading = false;
            });
          },
          onWebResourceError: (WebResourceError error) {},
          onNavigationRequest: (NavigationRequest request) {
            if (request.url == "https://success.com") {
              //Navigate to success screen
            }
            if (request.url == 'https://failure.com') {
              //Navigate to failure screen
            }
            if (request.url == 'https://closewebview.com') {
              Navigator.of(context).pop(); //close webview
            }

            return NavigationDecision.navigate;
          },
        ),
      )
      ..loadRequest(Uri.parse(widget.url));
  }

  @override
  Widget build(BuildContext context) {
    return Scaffold(
      appBar: AppBar(title: const Text('webview')),
      body: Stack(
        children: [
          WebViewWidget(
            controller: controller,
          ),
          Visibility(
            visible: isLoading,
            child: const Center(
              child: AppLoader(),
            ),
          )
        ],
      ),
    );
  }
}

//Simple Loader implemented.
class AppLoader extends StatelessWidget {
  const AppLoader({super.key});

  @override
  Widget build(BuildContext context) {
    return const CircularProgressIndicator.adaptive();
  }
}
The above class is the webView implementation and I would explain everything written.
Firstly we have Stateful Widget that houses our WebView implementation, we import package:webview_flutter/webview_flutter.dart so we can use the webview_flutter package in this file also note that I have a simple adaptive CircularProgressIndicator as my AppLoader.
Now to each component written
WebController:
We need to define a controller in our init state, the controller would be the container for every property and thing we would set regarding the WebView implementation
JavaScript mode:
The javascript mode JavaScriptMode.unrestricted allows us to use the javascript environment to render our webpage, so it should be there.
Background colour:
Set your background colour, this isn't compulsory tho, you can set whatever colour you like
NavigationDelegate:
This is what controls all our navigation, and we would be exploring some of its properties
onProgress: This function runs when a page is in the process of being loaded up.
onPageStarted: This function would run as soon as a page starts loading.
onPageFinished: This function would run as soon as a page stops loading.
onWebResourceError: This function would run if the WebView isn't able to load up for web resource(OS or software reasons), you could show a snackbar or error dialog.
onNavigationRequest: This is the function that handles the navigation requests, it majorly used to know what to do from the app when the app loads up a particular URL, like when to exit, navigate to a success screen or a failure screen as in the code above, we could configure our navigation options according to the URL presented.
loadRequest: used to load the URL that we want to load via WebView.
WebViewWidget: This is the widget that displays the WebView, all we need do is pass in the already preset controller with its properties and Voila our WebView is set.
I do hope this article is all you need to get started using the latest webview_flutter package, check the official doc for more on the package https://pub.dev/packages/webview_flutter
See you in my next article, peace!.